Provision a Kubernetes cluster
This chapter presents how to provision a Kubernetes cluster in Amazon Web Services (AWS) using kops installation utility.
Outline
In this chapter you will learn:
- How to install AWS and Kubernetes clients in your system.
- How to install and configure kops for Kubernetes cluster provisioning.
- How to provision a functional Kubernetes cluster in AWS.
Walkthrough
Provisioning a functional Kubernetes cluster in public cloud is a challenging process. It comprises multiple steps that require operational knowledge and experience, such as:
- provisioning compute, network and storage resources,
- creating Kubernetes configuration,
- bootstrapping the Kubernetes control plane,
- bootstrapping the Kubernetes worker nodes,
- setting up pod networking,
- configuring certificates.
In order to facilitate Kubernetes installation and make it convenient for regular developers, a broad spectrum of automation tools emerged in the Kubernetes ecosystem.
In this workshop, we will use kops to install a Kubernetes cluster in AWS. Kops takes care of provisioning the required cloud resources (EC2 instances, auto-scalers, VPC networking) and installing Kubernetes with core components. It automates the entire process end-to-end and provides a friendly user interface to customize the deployment for scale and high-availability.
Install prerequisites
Before we attempt to provision a cluster, we must install the prerequisite client binaries: Kubernetes client (kubectl), AWS client (aws) and kops.
Kubernetes client (kubectl)
NOTE: The instructions below present how to install the client on Linux. For other system platforms use the guide in the documentation.
Download the client binary:
$ curl -LO https://storage.googleapis.com/kubernetes-release/release/v1.18.0/bin/linux/amd64/kubectl
Make the binary executable:
$ chmod +x ./kubectl
Move the binary into the system path:
$ sudo mv ./kubectl /usr/local/bin/kubectl
Test to ensure the up-to-date version of the client:
$ kubectl version --client
AWS client
NOTE: The instructions below present how to install the client on Linux. For other system platforms use the guide in the documentation.
Download the installation file:
$ curl "https://awscli.amazonaws.com/awscli-exe-linux-x86_64.zip" -o "awscliv2.zip"
Unzip the installer:
$ unzip awscliv2.zip
Run the install program:
$ sudo ./aws/install
Test to ensure the up-to-date version of the client:
$ aws --version
aws-cli/2.0.6 Python/3.7.4 Linux/4.14.133-113.105.amzn2.x86_64 botocore/2.0.0
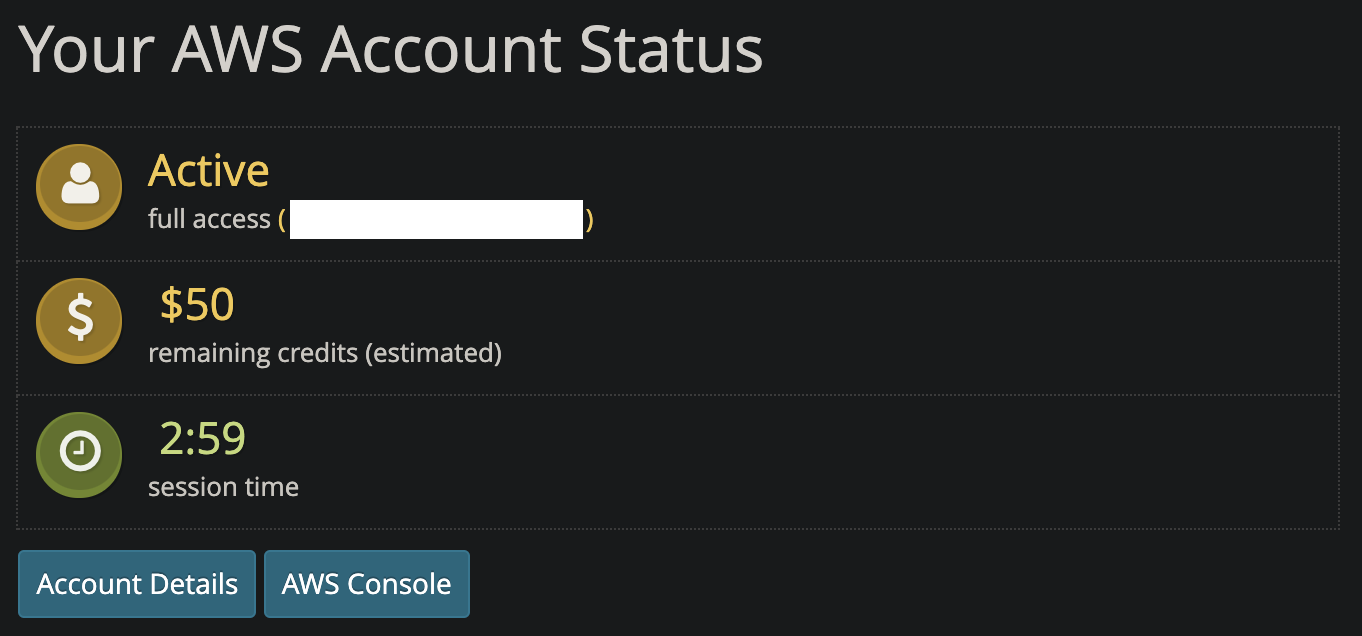
Obtain the AWS credentials from the Vocareum lab dashboard (enter
Account Details):
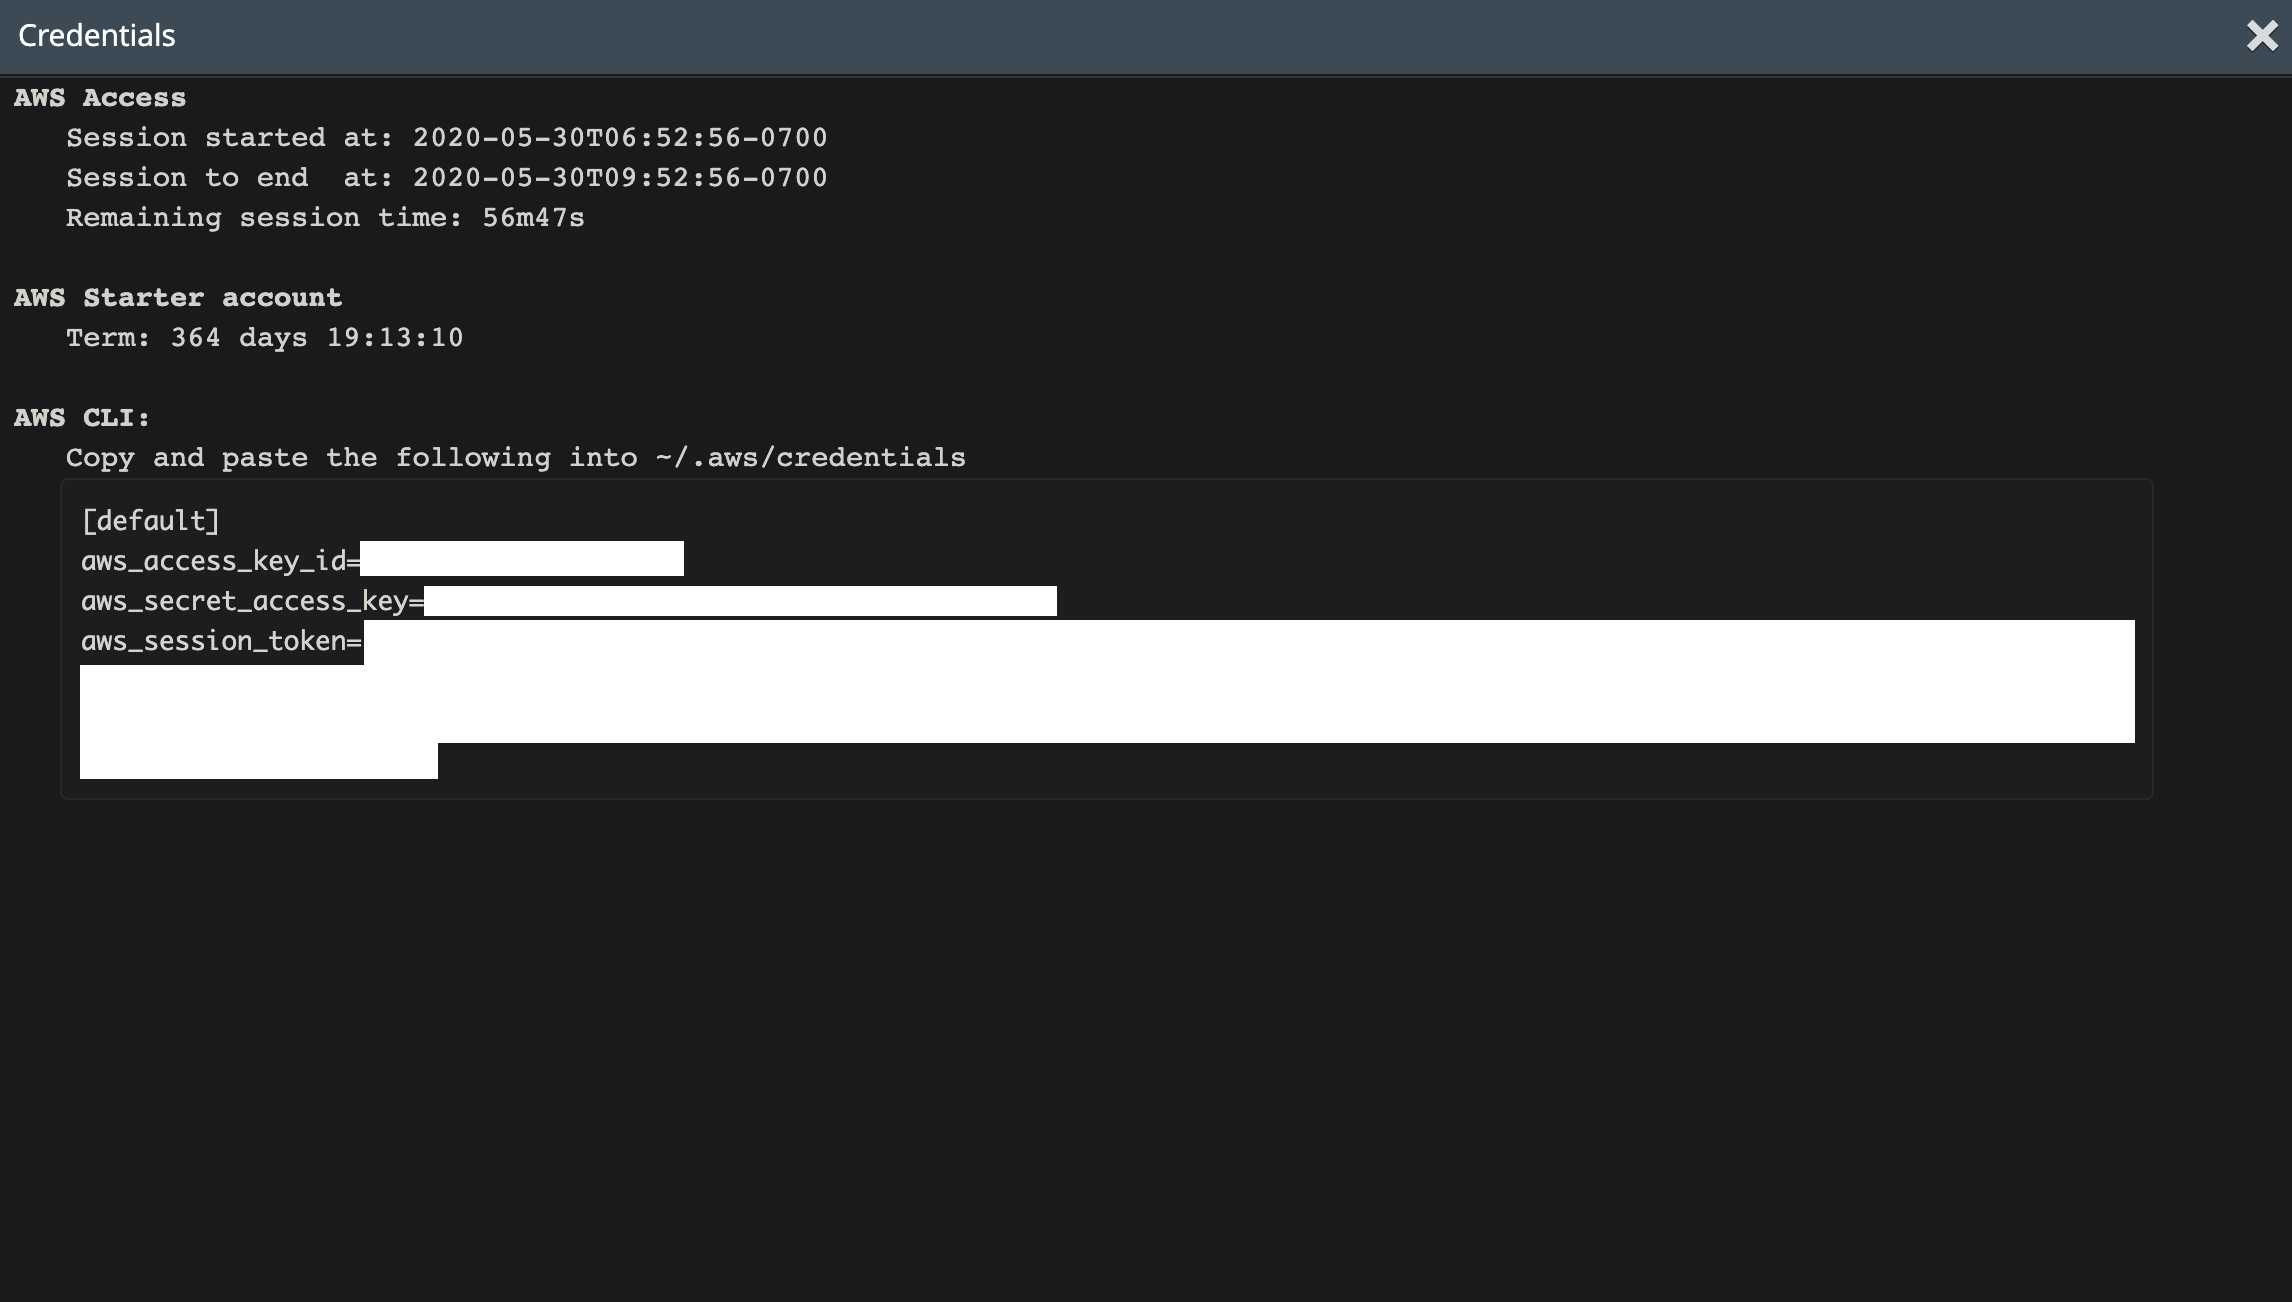
Copy-paste the credentials to ~/.aws/credentials file:
$ mkdir ~/.aws
$ vi ~/.aws/credentials
Set default AWS region and output format:
$ aws configure set default.region us-east-1
$ aws configure set default.output table
Test if the client is authorized to access the AWS resources:
$ aws ec2 describe-instances
You should receive an empty output with no authorization errors.
kops client
NOTE: The instructions below present how to install the client on Linux. For other system platforms use the guide in the documentation.
Download the client binary:
$ curl -LO https://github.com/kubernetes/kops/releases/download/v1.18.3/kops-linux-amd64
Make the binary executable:
$ chmod +x kops-linux-amd64
Move the binary into the system path:
$ sudo mv kops-linux-amd64 /usr/local/bin/kops
Test to ensure the up-to-date version of the client:
$ kops version
Version 1.18.3
Provision a cluster
Now that all required client binaries are installed, we can proceed to the cluster installation.
First, create S3 bucket for storing the cluster configuration maintained by kops:
$ BUCKET_NAME=istio-workshop-$RANDOM-kops-cluster-state-store
$ aws s3api create-bucket --bucket $BUCKET_NAME --region us-east-1
$ aws s3api put-bucket-versioning --bucket $BUCKET_NAME --versioning-configuration Status=Enabled
Note the $RANDOM variable in the bucket name. All bucket names must be globally unique in a given
AWS region. If you encounter errors such as BucketAlreadyExists or
Bucket name already exists, regenerate the name and try to create the bucket again.
Next, set variables needed for the subsequent installation steps:
$ export NAME=istio-workshop.k8s.local
$ export KOPS_STATE_STORE=s3://$BUCKET_NAME
Note the k8s.local suffix in the cluster name. It enforces the
gossip-based DNS required to skip registering a public cluster
domain and setting up the external DNS.
Generate the cluster manifest:
$ kops create cluster \
    --zones=us-east-1a \
    --master-count=1 \
    --node-count=2 \
    --node-size=t3.medium \
    --master-size=t3.medium \
    --networking=calico \
    ${NAME}
The above command instructs kops how to manage the cluster provisioning and what is the desired cluster structure:
- deploy the cluster in
us-east-1aavailability zone, - provision 1 master node and 2 worker nodes,
- use
t3.mediuminstance type for Kubernetes master node, - use
t3.mediuminstance type for Kubernetes worker nodes, - setup Calico CNI for cluster networking,
- set cluster name to
istio-workshop.k8s.local.
The generated YAML manifest will be stored in the configured storage bucket. Review its contents:
$ kops edit cluster $NAME
In addition, the kops create command displays the list of cloud resources that will be created
during the provisioning:
(...)
I0603 14:49:34.073018   71688 apply_cluster.go:556] Gossip DNS: skipping DNS validation
(...)
Will create resources:
  AutoscalingGroup/master-us-east-1a.masters.istio-workshop.k8s.local
      Granularity             1Minute
      LaunchConfiguration     name:master-us-east-1a.masters.istio-workshop.k8s.local
      LoadBalancers           [name:api.istio-workshop.k8s.local id:api.istio-workshop.k8s.local]
      MaxSize                 1
      Metrics                 [GroupDesiredCapacity, GroupInServiceInstances, GroupMaxSize, GroupMinSize, GroupPendingInstances, GroupStandbyInstances, GroupTerminatingInstances, GroupTotalInstances]
      MinSize                 1
      Subnets                 [name:us-east-1a.istio-workshop.k8s.local id:subnet-01740566d42e75315]
      SuspendProcesses        []
      Tags                    {k8s.io/role/master: 1, kops.k8s.io/instancegroup: master-us-east-1a, Name: master-us-east-1a.masters.istio-workshop.k8s.local, KubernetesCluster: istio-workshop.k8s.local, kubernetes.io/cluster/istio-workshop.k8s.local: owned, k8s.io/cluster-autoscaler/node-template/label/kops.k8s.io/instancegroup: master-us-east-1a}
      TargetGroups            []

  AutoscalingGroup/nodes.istio-workshop.k8s.local
      Granularity             1Minute
      LaunchConfiguration     name:nodes.istio-workshop.k8s.local
      LoadBalancers           []
      MaxSize                 2
      Metrics                 [GroupDesiredCapacity, GroupInServiceInstances, GroupMaxSize, GroupMinSize, GroupPendingInstances, GroupStandbyInstances, GroupTerminatingInstances, GroupTotalInstances]
      MinSize                 2
      Subnets                 [name:us-east-1a.istio-workshop.k8s.local id:subnet-01740566d42e75315]
      SuspendProcesses        []
      Tags                    {k8s.io/cluster-autoscaler/node-template/label/kops.k8s.io/instancegroup: nodes, k8s.io/role/node: 1, kops.k8s.io/instancegroup: nodes, Name: nodes.istio-workshop.k8s.local, KubernetesCluster: istio-workshop.k8s.local, kubernetes.io/cluster/istio-workshop.k8s.local: owned}
      TargetGroups            []
(...)
  LaunchConfiguration/master-us-east-1a.masters.istio-workshop.k8s.local
      AssociatePublicIP       true
      IAMInstanceProfile      name:masters.istio-workshop.k8s.local id:masters.istio-workshop.k8s.local
      ImageID                 099720109477/ubuntu/images/hvm-ssd/ubuntu-focal-20.04-amd64-server-20210325
      InstanceType            t3.medium
      RootVolumeDeleteOnTermination    true
      RootVolumeSize          64
      RootVolumeType          gp2
      SSHKey                  name:kubernetes.istio-workshop.k8s.local-36:06:60:b5:d7:4b:b5:e6:08:0c:39:12:80:44:76:4a id:kubernetes.istio-workshop.k8s.local-36:06:60:b5:d7:4b:b5:e6:08:0c:39:12:80:44:76:4a
      SecurityGroups          [name:masters.istio-workshop.k8s.local id:sg-0bc31f2a024a886d8]
      SpotPrice

  LaunchConfiguration/nodes.istio-workshop.k8s.local
      AssociatePublicIP       true
      IAMInstanceProfile      name:nodes.istio-workshop.k8s.local id:nodes.istio-workshop.k8s.local
      ImageID                 099720109477/ubuntu/images/hvm-ssd/ubuntu-focal-20.04-amd64-server-20210325
      InstanceType            t3.medium
      RootVolumeDeleteOnTermination    true
      RootVolumeSize          128
      RootVolumeType          gp2
      SSHKey                  name:kubernetes.istio-workshop.k8s.local-36:06:60:b5:d7:4b:b5:e6:08:0c:39:12:80:44:76:4a id:kubernetes.istio-workshop.k8s.local-36:06:60:b5:d7:4b:b5:e6:08:0c:39:12:80:44:76:4a
      SecurityGroups          [name:nodes.istio-workshop.k8s.local id:sg-097a9b8d1ff38aece]
      SpotPrice
(...)
  LoadBalancer/api.istio-workshop.k8s.local
      LoadBalancerName        api-istio-workshop-k8s-lo-n58mdh
      Subnets                 [name:us-east-1a.istio-workshop.k8s.local]
      SecurityGroups          [name:api-elb.istio-workshop.k8s.local]
      Listeners               {443: {"InstancePort":443,"SSLCertificateID":""}}
      HealthCheck             {"Target":"SSL:443","HealthyThreshold":2,"UnhealthyThreshold":2,"Interval":10,"Timeout":5}
      ConnectionSettings      {"IdleTimeout":300}
      CrossZoneLoadBalancing    {"Enabled":false}
      SSLCertificateID
      Tags                    {Name: api.istio-workshop.k8s.local, KubernetesCluster: istio-workshop.k8s.local, kubernetes.io/cluster/istio-workshop.k8s.local: owned}
(...)
  SecurityGroup/masters.istio-workshop.k8s.local
      Description             Security group for masters
      VPC                     name:istio-workshop.k8s.local
      RemoveExtraRules        [port=22, port=443, port=2380, port=2381, port=4001, port=4002, port=4789, port=179]
      Tags                    {Name: masters.istio-workshop.k8s.local, KubernetesCluster: istio-workshop.k8s.local, kubernetes.io/cluster/istio-workshop.k8s.local: owned}

  SecurityGroup/nodes.istio-workshop.k8s.local
      Description             Security group for nodes
      VPC                     name:istio-workshop.k8s.local
      RemoveExtraRules        [port=22]
      Tags                    {Name: nodes.istio-workshop.k8s.local, KubernetesCluster: istio-workshop.k8s.local, kubernetes.io/cluster/istio-workshop.k8s.local: owned}
(...)
  VPC/istio-workshop.k8s.local
      CIDR                    172.20.0.0/16
      EnableDNSHostnames      true
      EnableDNSSupport        true
      Shared                  false
      Tags                    {kubernetes.io/cluster/istio-workshop.k8s.local: owned, Name: istio-workshop.k8s.local, KubernetesCluster: istio-workshop.k8s.local}
(...)
Cluster configuration has been created.
The list must be carefully reviewed before proceeding to the next step.
Now, provision the cluster:
$ kops update cluster --name $NAME --yes

Cluster is starting.  It should be ready in a few minutes.

Suggestions:
 * validate cluster: kops validate cluster
 * list nodes: kubectl get nodes --show-labels
 * ssh to the master: ssh -i ~/.ssh/id_rsa admin@api.istio-workshop.k8s.local
 * the admin user is specific to Debian. If not using Debian please use the appropriate user based on your OS.
 * read about installing addons at: https://github.com/kubernetes/kops/blob/master/docs/operations/addons.md.
It takes a while before the cluster becomes ready, but it should not take more than 10-15 minutes. During this time, kops creates the required cloud resources in AWS and installs Kubernetes.
The cluster access configuration will be automatically generated and written to ~/.kube/config. As
a result, the Kubernetes client (kubectl) can be used right after the installation completes,
without any additional configuration effort.
Verify the cluster
Validate the cluster using kops validate utility:
$ kops validate cluster
Using cluster from kubectl context: istio-workshop.k8s.local

Validating cluster istio-workshop.k8s.local

INSTANCE GROUPS
NAME                ROLE    MACHINETYPE MIN MAX SUBNETS
master-us-east-1a   Master  t3.medium   1   1   us-east-1a
nodes               Node    t3.medium   2   2   us-east-1a

NODE STATUS
NAME                            ROLE    READY
ip-172-20-37-195.ec2.internal   node    True
ip-172-20-45-213.ec2.internal   node    True
ip-172-20-54-100.ec2.internal   master  True

Your cluster istio-workshop.k8s.local is ready
The command should display: Your cluster istio-workshop.k8s.local is ready.
Ensure that all Kubernetes nodes are healthy:
$ kubectl get nodes
NAME                            STATUS   ROLES    AGE     VERSION
ip-172-20-37-195.ec2.internal   Ready    node     3h41m   v1.18.3
ip-172-20-45-213.ec2.internal   Ready    node     3h41m   v1.18.3
ip-172-20-54-100.ec2.internal   Ready    master   3h43m   v1.18.3
Ensure that all Kubernetes components are ready (inspect READY and STATUS columns):
$ kubectl -n kube-system get pods
NAME                                                    READY   STATUS    RESTARTS   AGE
calico-kube-controllers-68b7df9f67-lxd66                1/1     Running   0          3h43m
calico-node-9zqxl                                       1/1     Running   0          3h42m
calico-node-d5qqd                                       1/1     Running   0          3h43m
calico-node-ltk58                                       1/1     Running   0          3h42m
dns-controller-776cdf4ff4-m54fv                         1/1     Running   0          3h43m
etcd-manager-events-ip-172-20-54-100.ec2.internal       1/1     Running   0          3h42m
etcd-manager-main-ip-172-20-54-100.ec2.internal         1/1     Running   0          3h42m
kops-controller-mxhhf                                   1/1     Running   0          3h42m
kube-apiserver-ip-172-20-54-100.ec2.internal            1/1     Running   3          3h43m
kube-controller-manager-ip-172-20-54-100.ec2.internal   1/1     Running   0          3h42m
kube-dns-autoscaler-594dcb44b5-2cxx5                    1/1     Running   0          3h43m
kube-dns-b84c667f4-46bpm                                3/3     Running   0          3h41m
kube-dns-b84c667f4-djn7b                                3/3     Running   0          3h43m
kube-proxy-ip-172-20-37-195.ec2.internal                1/1     Running   0          3h41m
kube-proxy-ip-172-20-45-213.ec2.internal                1/1     Running   0          3h42m
kube-proxy-ip-172-20-54-100.ec2.internal                1/1     Running   0          3h43m
kube-scheduler-ip-172-20-54-100.ec2.internal            1/1     Running   0          3h42m
If all components are operating without problems, you successfully provisioned the Kubernetes cluster. Proceed to the next chapter.